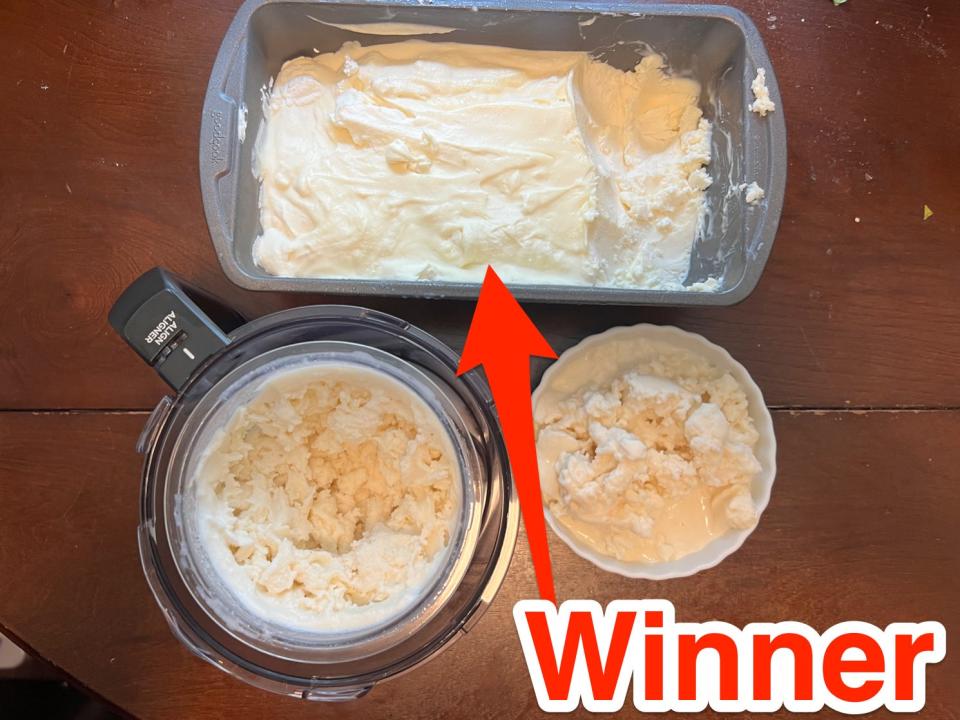
I made classic vanilla ice cream using the bag trick, blender method, and Ninja Creami.
The Ninja Creami required over 24 hours of time and the bag method took about 15 minutes.
I liked the three-ingredient blender method the best because the ice cream had a great texture.
I love frozen treats and always thought there was something about making homemade ice cream out of just a few, simple ingredients that's extremely satisfying.
As someone who'd never made a homemade version of the treat before, I decided it was worth trying three ice-cream-making methods to see which technique yields a store-bought-quality product.
I made traditional vanilla ice cream three ways using the bag trick, the three-ingredient blender method, and my $200+ Ninja Creami.
Here's how each method went, and which one I'll be trying again.
I started with the bag method, which was super straightforward.
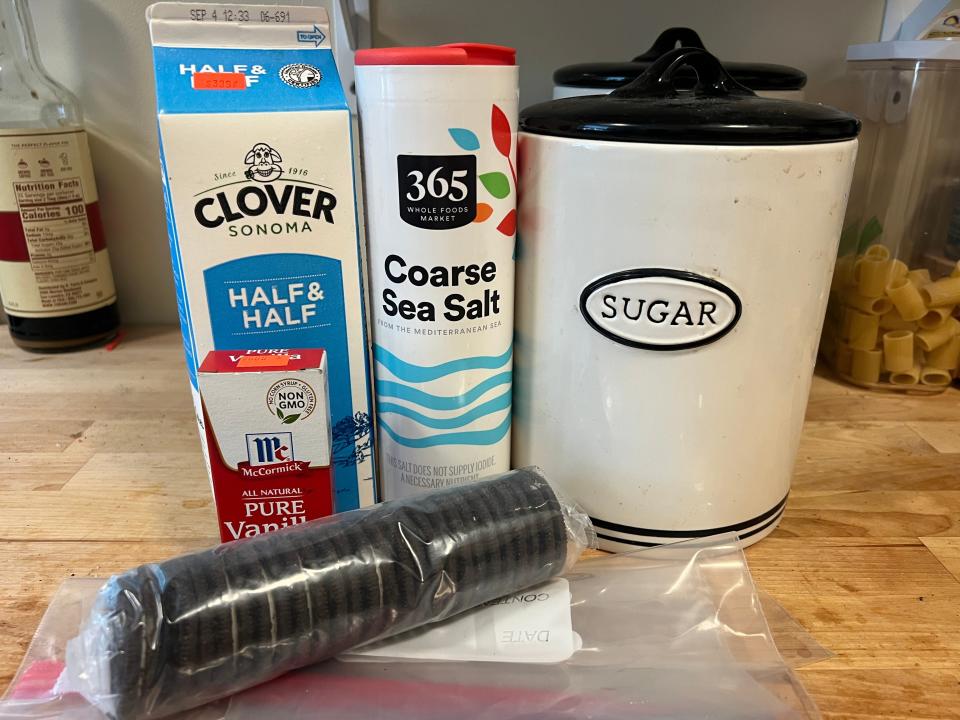
The ingredients for the bag-method ice cream included half-and-half, vanilla, sugar, salt, and ice.I also grabbed some cookies to possibly use as a garnish or mix into the finished product.
I poured the ingredients into two different plastic bags.
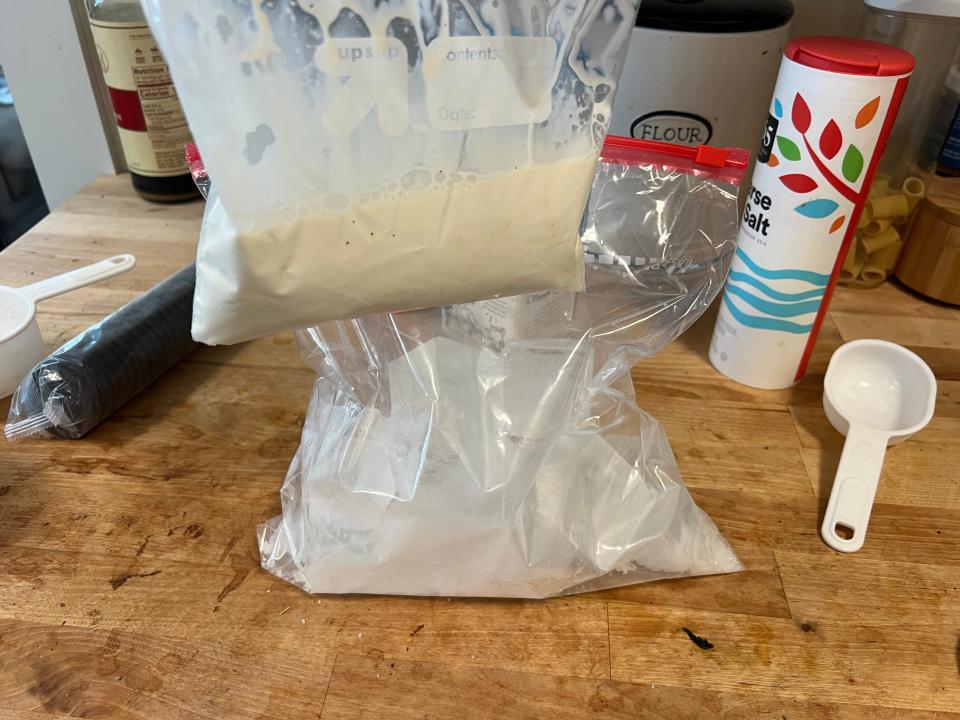
I filled a small sandwich bag with 1 cup of half-and-half, 2 tablespoons of sugar, and 1/2 teaspoon of vanilla extract, pushed the air out, and sealed it. Next, I filled a slightly bigger plastic bag with 3 cups of ice and 1/3 cup of salt.
Per the instructions, I placed the smaller bag in the bigger bag and started to shake them.
I thought the bag method required a lot of labor.
Things also became messy as the bag got wet from the condensation and dripped. To make the process easier, I stuck the bag in a big pot lined with a kitchen towel and shook the entire thing back and forth.
Overall, I vigorously shook the bags for about 10 minutes, which was tiring and just annoying.
Still, the ice cream came together pretty quickly.
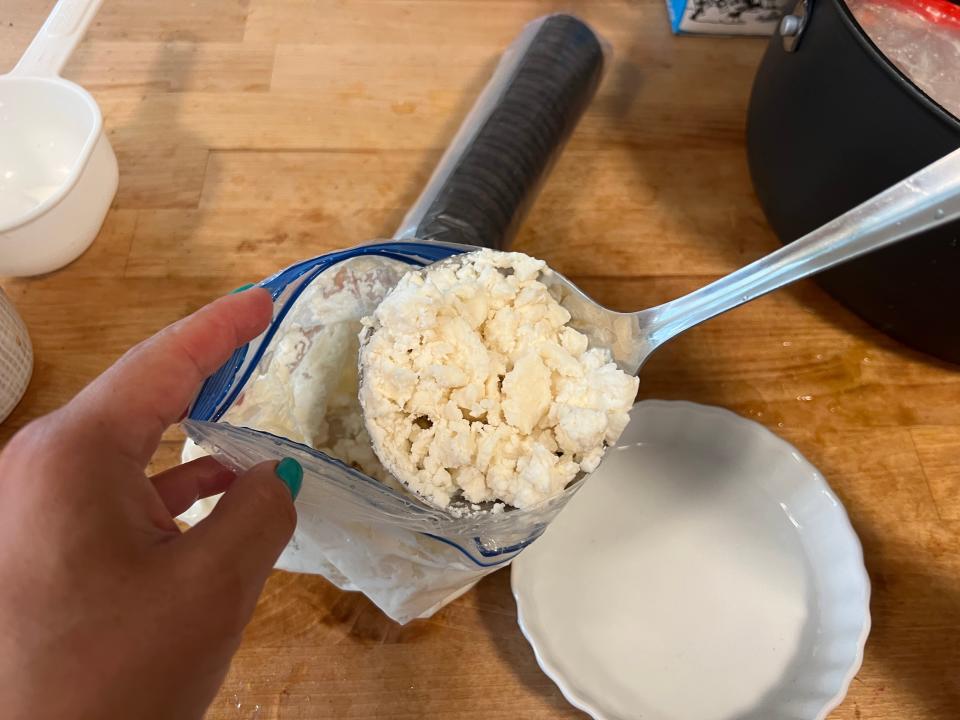
After 10 minutes, it seemed the ice cream had come together so I spooned it out of the bag to try it.
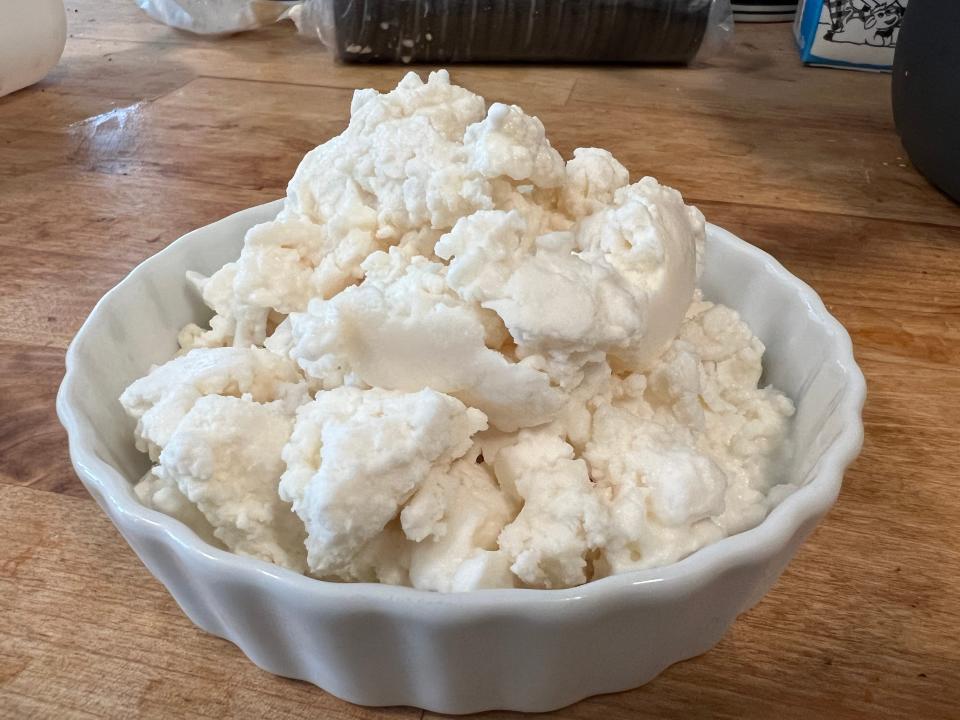
The bag-method ice cream wasn't bad at all. It wasn't very smooth or creamy but it had an icy, chunky texture and good flavor.
I think that some of the salt water may have seeped into the smaller bag and gave the ice cream a slightly salty taste, but I actually didn't mind. The flavor was pretty good on its own so I decided not to add the cookies.
Overall, I was surprised the bag method worked so well.
The bag method yielded fast results and got the job done.
However, the ice cream seemed to melt quite quickly once I scooped it out of the bag, which may have been because it was no longer insulated by the bigger salt-water bag.
Though the whole process took only 15 minutes, I'd only use the bag method again if, for some reason, I desperately needed ice cream in the middle of the night.
Next, I used my Ninja Creami Deluxe to make ice cream for the first time.
Making this ice cream was my first time using my Ninja Creami, an appliance designed to make creamy desserts.
It took some fiddling around for me to figure out how to put it together. That said, once the appliance was up and running, the recipe was straightforward.
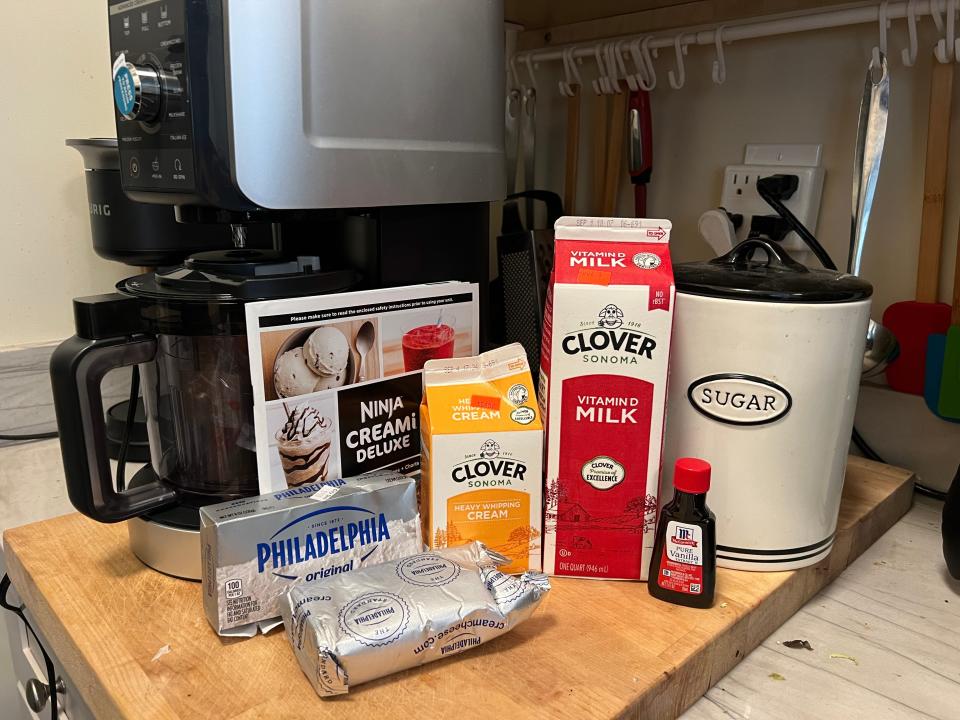
For this method, I followed the base ice-cream recipe from the pamphlet that came with my Ninja Creami. The recipe calls for cream cheese, sugar, heavy cream, milk, and an extract of the user's choice. To keep things consistent with my other creations, I used vanilla extract.
I combined the classic ice-cream ingredients, plus cream cheese.
Putting the base of the ice cream together was simple.
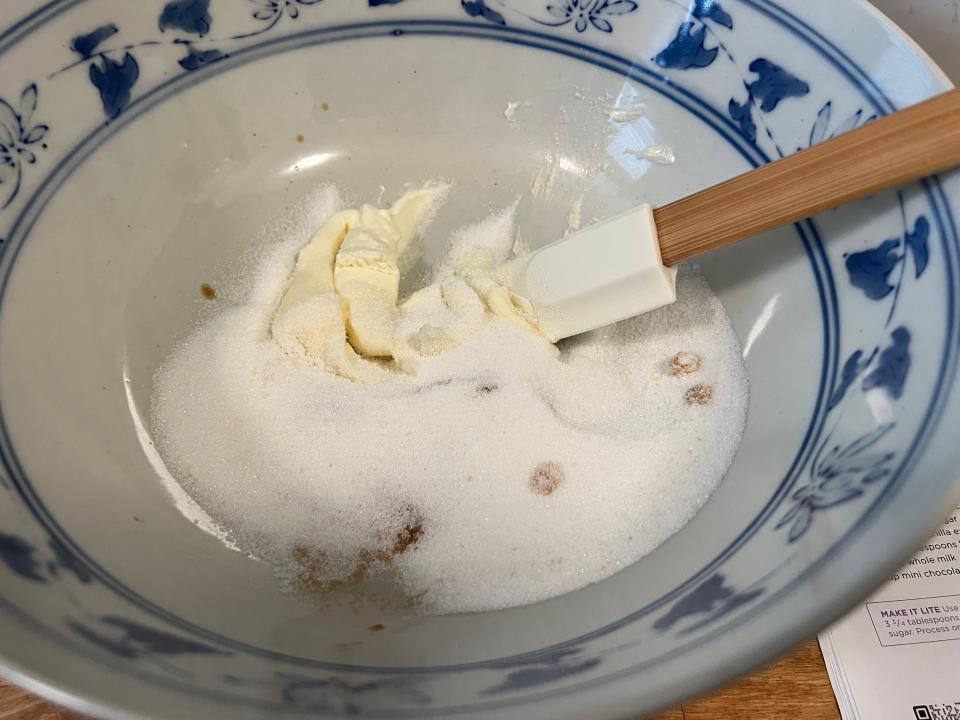
I softened 1 tablespoon of cream cheese in a bowl and added 1/3 cup of sugar and 1 teaspoon of vanilla extract. I began to stir and once that was smooth, I dissolved the paste into 3/4 cup of the heavy cream and 1 cup of milk.
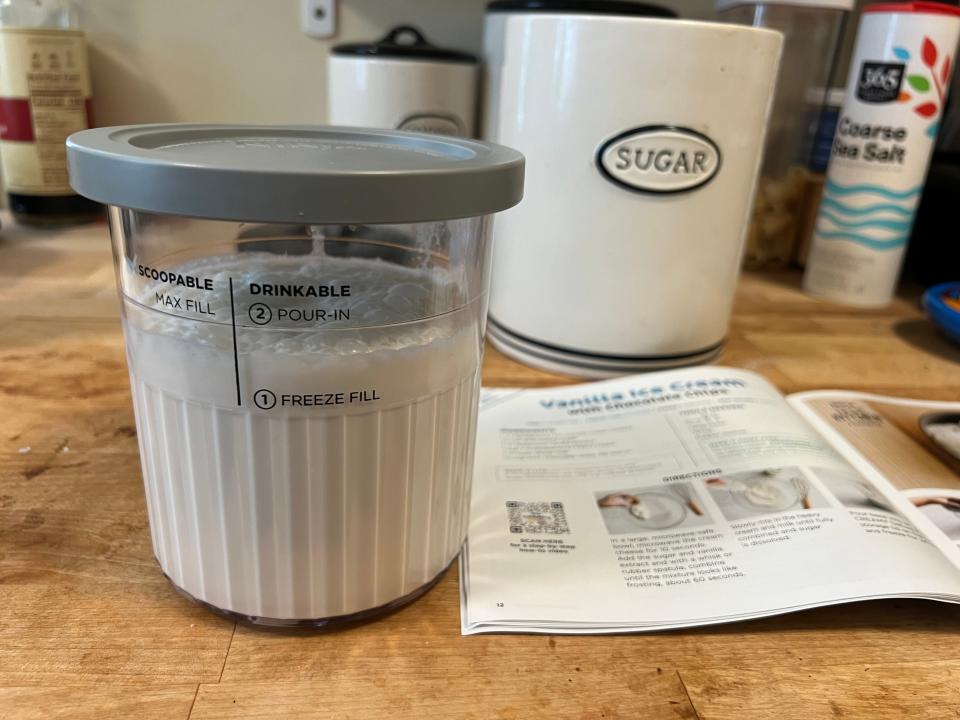
Next, I poured the mixture into the Ninja Creami pint.
The recipe called for freezing the ice-cream-filled pint for 24 hours.
This was my main issue with the Ninja Creami method because it's not very fast and it requires freezer space before the dessert is even finished. You also may need to really plan ahead if you want ice cream.
After 24 hours, the pint was frozen solid.
Then, it was time to see the Ninja Creami in action.
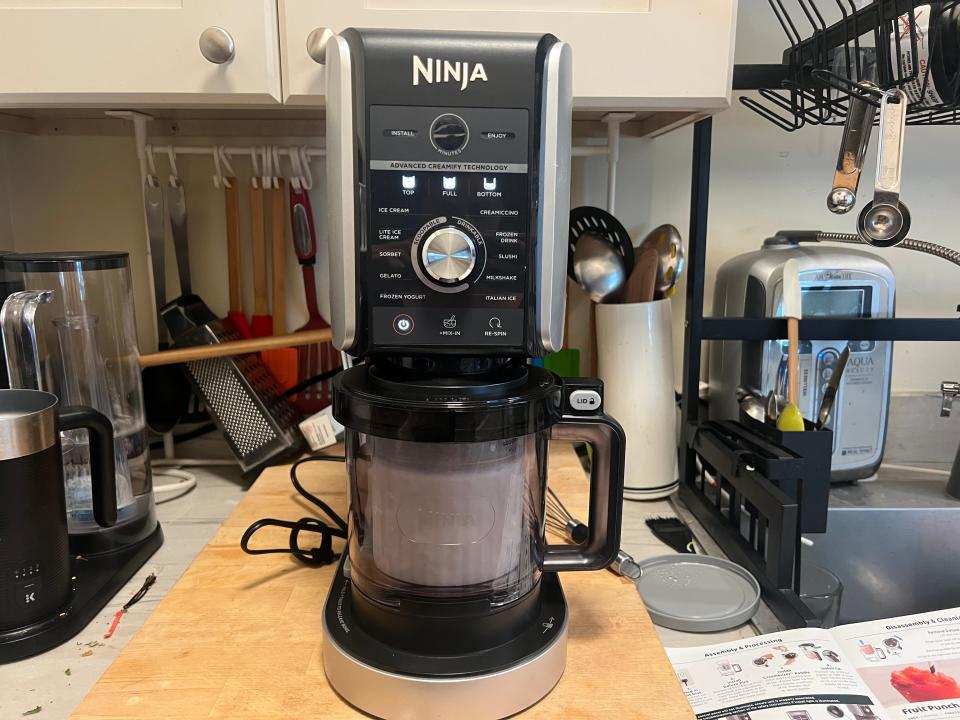
I stuck my frozen pint in the machine and let it do its processing.
The Ninja Creami's blade drove into the frozen pint and churned the mixture into a creamy dessert. Though the process was a little loud, it was done within a couple of minutes.
If you want a creamier texture, you can also choose to go for a second respin cycle.
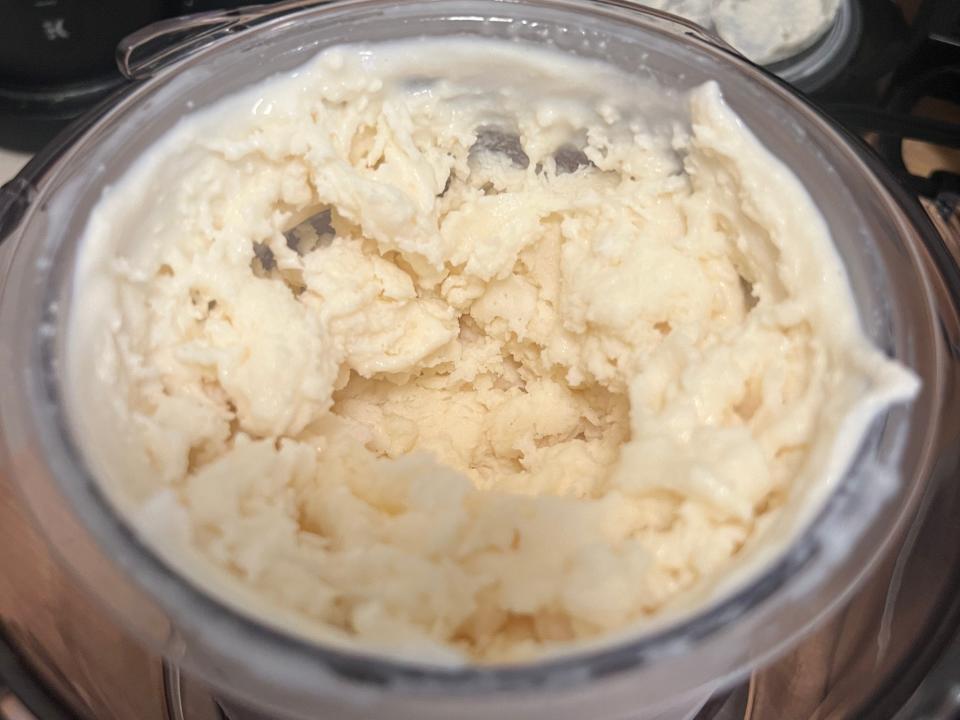
This ice cream tasted the most like a store-bought variety.
The consistency of the Ninja Creami ice cream wasn't hard, though it was a bit crumbly and melted somewhat fast when I started eating it. Next time, I'd opt to spin it again to get it smoother.
It had a somewhat creamy, soft-serve texture and that good classic vanilla ice-cream flavor.
After freezing the finished ice cream for a day, it hardened up and had a fairly identical texture to a typical store-bought vanilla ice cream.
Lastly, I tried the three-ingredient blender method in my Nutribullet.
For the three-ingredient method, I opted to mostly follow a recipe from food blogger Mighty Mrs.
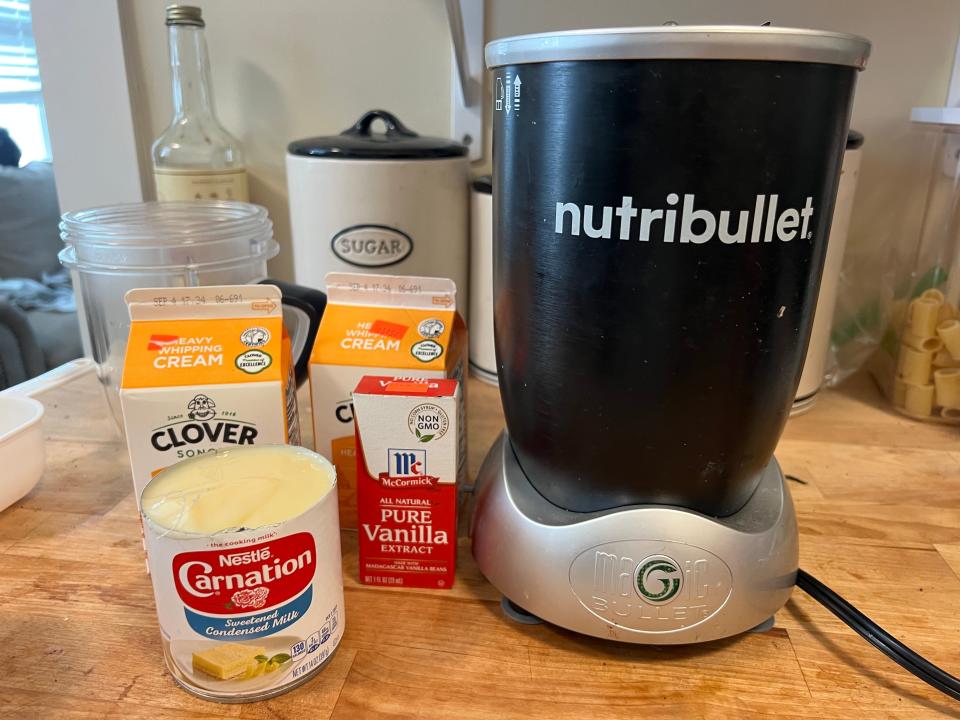
Right off the bat, it seemed like the simplest of the three recipes and required only heavy whipping cream, sweetened condensed milk, and vanilla extract.
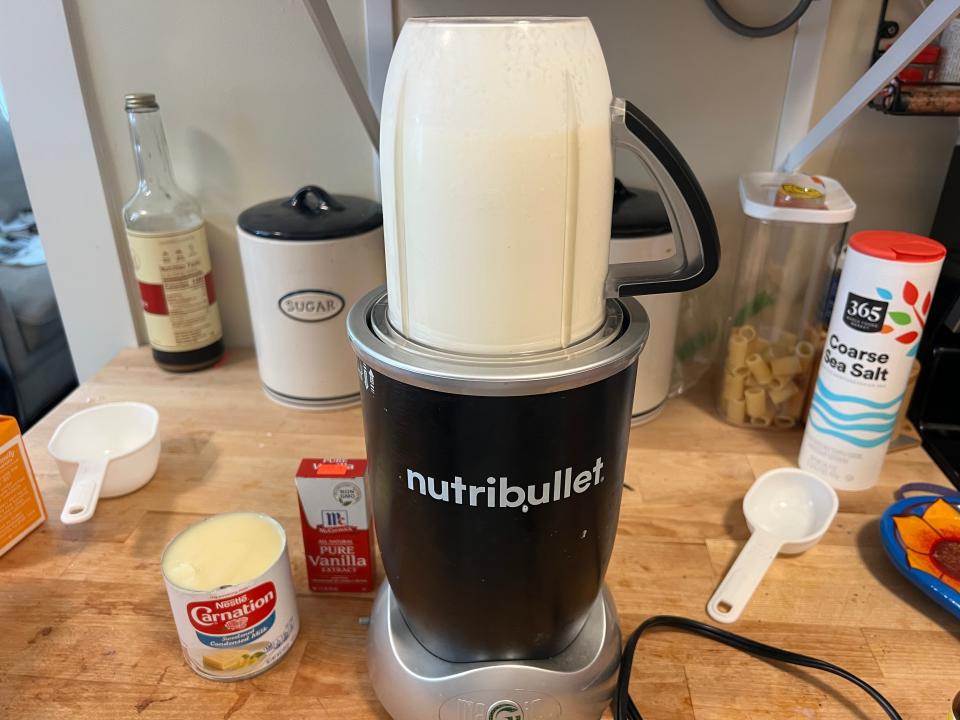
I decided to veer off the recipe and whip the heavy cream in the blender.
The recipe instructed me to beat 4 cups of heavy cream in a large bowl but I opted to blend it in my Nutribullet until I got stiff peaks.
The accompanying blog post for the recipe said whipping the heavy cream can "add air to your ice cream" to give it "that perfect ice-cream texture you know and love." As I followed the recipe, I realized this turned out to be true.
The blender created a thick whipped cream to combine with the rest of the ingredients.
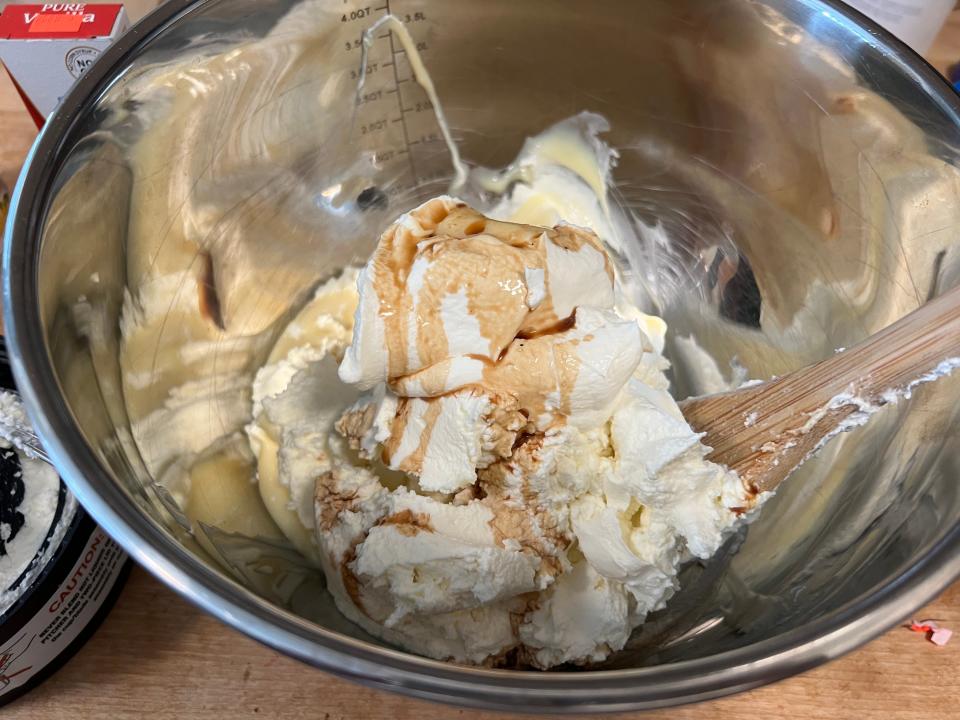
After I blended the heavy cream, which took about 30 seconds, I mixed in a 14-ounce can of sweetened condensed milk and 2 tablespoons of vanilla extract.
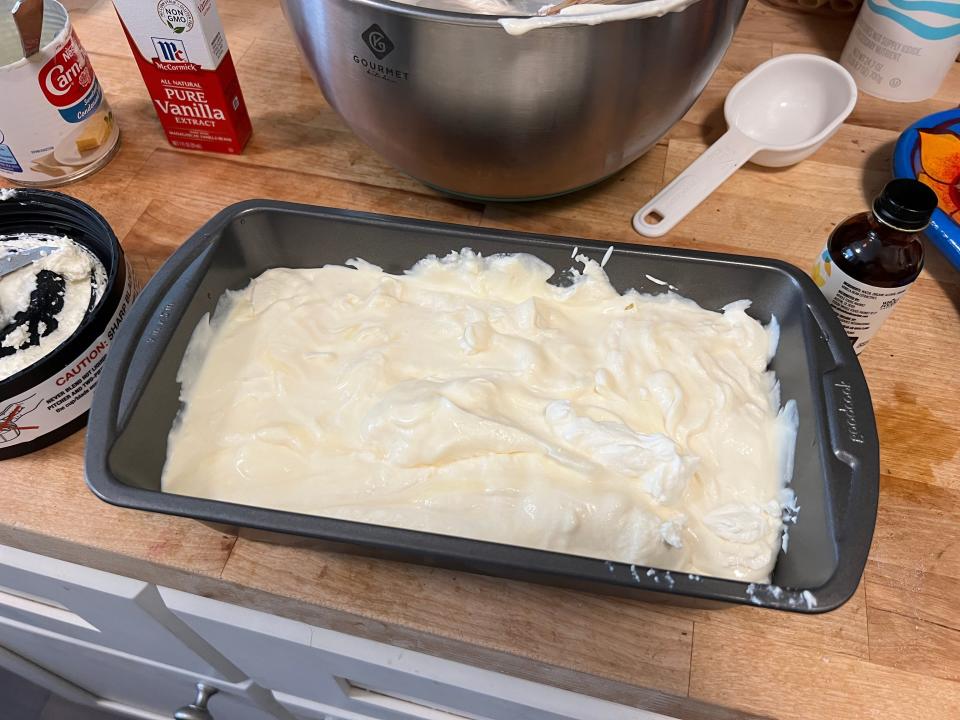
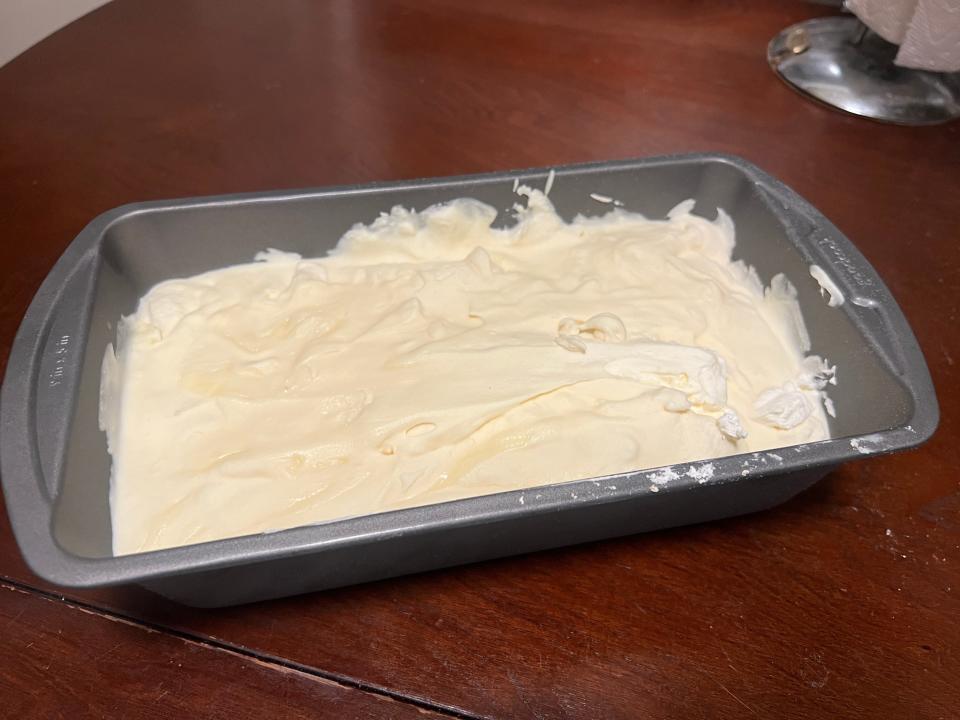
I added the fluffy ice-cream mixture to a loaf pan.
I transferred the ice-cream mixture into a loaf pan and stuck it in the freezer for several hours. According to the recipe, the ice cream needs a minimum of two hours in the freezer.
Minus the freezing time, the entire process literally took me under 10 minutes.
The three-ingredient ice cream turned out to be extremely delicious.
After a few hours, I took the ice cream out of the freezer and scraped a few bites off of the surface.
This ice cream was thick, super creamy, and unlike the other two ice creams, wasn't icy at all. It almost had a chewiness to it and didn't melt very fast. It had a similar texture to a Melona Bar, dense but still delicious.
Overall, the three-ingredient ice cream I made using the blender was my favorite.
Next time I have a craving for homemade ice cream, I'm going to whip out my blender and three ingredients.
The simple recipe yielded my favorite creamy, thick texture. The finished ice cream didn't melt quickly, was nice and dense, and took very little effort to make.
Still, the Ninja Creami was a close second because making ice cream was pretty easy once the pint was frozen for 24 hours. I think those who prefer a softer, store-bought ice-cream texture might like this method best.
The bag trick was a little too annoying for me to want to try it again, but it certainly did work.
This story was originally published on September 2, 2023, and most recently updated on June 21, 2024.
Read the original article on Business Insider
